Modern garage doorways work seamlessly with sensors so that the garage door can open up and close properly with out smushing anything at all underneath. If the garage door sensors are out of alignment, your garage doorway will not shut correctly.
Even if you have no encounter with garage doors or other handiwork, you should be in a position to align garage doorway sensors rather easily. In just 8 steps, you can get your garage doorway sensors back in alignment. Discover how by scrolling down.
Tools You’ll Need
You won’t need a lot of tools to realign your garage doorway sensors. Just get the subsequent items.
- Electricity-resistant gloves
- Screwdriver
- String
- Leveler
- Scissors
The 8 Steps to Align Garage Door Sensors
1. Disconnect Power Supply
The first step for aligning your garage doorway sensors is basic safety. Disconnect the electrical power supplies so that you do not unintentionally electrocute by yourself while operating with the sensors. If the sensors are plugged into an outlet directly, change off their switch. You can also vacation the fuse for your garage using the house’s breaker box.
Even even though the energy provide is turned off, make certain you use your electrical power-resistant gloves. This will guarantee that you are risk-free in case anything goes wrong.
2. Loosen Screws Holding Sensor Brackets
Grab your screwdriver to loosen the mounting brackets keeping your garage door sensors in area. Far more than most likely, you just need to have to turn the screwdriver in a counterclockwise path to loosen the screws.
You do not have to get rid of the screws all the way. Instead, you just need to have to loosen them so that you can readjust the sensor and make sure it is in alignment once again. Only loosening the screws a bit will enable you to do this without having the risk of getting rid of them in the method.
3. Slide Sensors Downward
Since these screws are loosened, you will be in a position to slide the brackets up and down. Slide the sensor downwards using your bare palms. Slide it down as far as it will go inside of the mount.
Make confident not to use a wrench or any other resource to get this work accomplished. This can crack or harm the sensor in some way or make it seem unattractive.
4. Connect Both Sensors Using a String
Now, it is time to genuinely get the sensors in alignment. Get a string and link it to one particular sensor’s mounting bracket. Make confident to tie the string as tightly as attainable, or else this technique will not perform.
After confirming the knot is as limited as possible, walk the other conclude of the string to the other mounting bracket. Hook up it to the precise very same location on the other bracket and tie that knot as tightly as attainable.
After you’re concluded, there should be a string that is tightly linked to both sensors. The string should be in a straight line and show that the mounting brackets are close to alignment.
5. Level the String
To guarantee that the brackets actually are in alignment, you need to level the string. Seize a leveler and press it from this string for a couple of seconds. If the leveler exhibits that the string is fully degree, you can shift on to the up coming phase.
If the string is not stage, you will want to change a single or the two sensors by sliding them close to in their mounting brackets. Continue to change the sensors until finally the string is leveled.
6. Tighten the Brackets
After you have ensured that the string is degree, tighten the brackets. This will preserve the sensors in place and make sure that they remain aligned, even when you remove the string. Be confident not to crack the string or mess up the degree whilst tightening the brackets.
7. Remove the String
Merely get rid of the string now. Lower it off both sensors so it is not in the way. You can toss the string at this point.
8. Turn the Power Back on and Test the Alignment
Ultimately, turn the energy back again on and test your alignment by clicking the garage doorway button. If the sensors are now aligned, you need to be ready to shut the doorway.
If the sensors are nevertheless off, there was probably an concern. You probably did not tie the string tightly enough. Repeat methods 4 through eight right up until the garage door sensors are aligned and working properly.
How Can I Know If My Garage Sensors Are Not Aligned?
If your garage sensors are not aligned, they will let you know. For example, numerous garage doorway sensors will flash a specific way each time they are out of alignment. If you have a much more sophisticated garage doorway opener with a exhibit system, the show technique may possibly demonstrate up as an mistake.
You will need to have to discover how your garage door and sensors are programmed. Your owner’s guide will most likely inform you how you can know if your sensors are out of alignment.
What If Aligning My Sensors Does Not Work?
If your sensors are in alignment, but the garage door is nevertheless not closing, one thing else is possibly the situation. If you know that the difficulty is the sensor, make positive that there is no filth on the true sensor. This will make the sensor feel some thing is in the way, preventing the doorway from closing.
From there, there could be some thing a lot more critically mistaken. For case in point, some kind of influence could have ruined the sensor or connective wires. There also could be some sort of incorrect wiring amongst the sensors and the garage doorway opener.
Conclusion
We hope that this article has assisted you repair your garage door sensors. With just a tiny little bit of work and a string, you must be capable to fix the difficulty in a tiny time. If all else fails, there is most likely yet another situation with the garage door sensors, not the alignment.
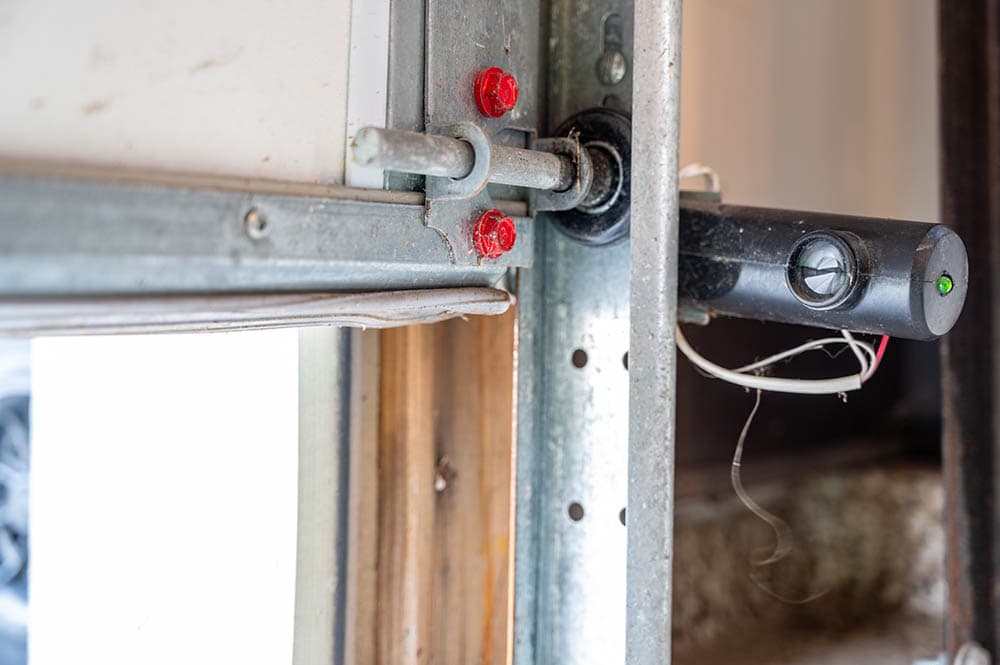
Featured Impression Credit: Emil Diallo, Unsplash
Contents
