If you are not cleaning your paint sprayer soon after use, you are placing by yourself up for a correct disaster. Paint sprayers are exceptional pieces of equipment, but they do have an Achilles heel. Clogs.
Not only do clogs kill your productiveness but they also just are not great for the device. Even though you will bump into them from time to time for causes that might be outside the house of your management, very good cleansing procedures can go a long way in the direction of aiding you steer clear of problems.
Right now we have assembled a manual of helpful tips that will aid you clear your paint sprayer and keep away from clogs.
Step 1 Prepare the Sprayer
First, you need to get the sprayer completely ready to be cleaned. Switch off the electricity, and make sure that the pressure is set to the lowest degree feasible.
To make certain that the greatest volume of strain has been relieved, you can come to feel free to activate the spray gun.
You will also want to switch down the prime valve into the open up place, and remove the filter and suggestion factors.

Step 2: Clean the Smaller Parts:
For the smaller sized elements, like the tip and the filter items you are likely to want use a washing fluid, which usually is composed of water and paint thinner.
This element is a minor little bit tedious, but it also need to not be much of a challenge.
Step 3: Remove the Siphon Tube:
Now it is time to eliminate the siphon tube from the paint. Once the tube has been removed, spot it in a flushing remedy.
In the end, what form of flushing answer you use will depend on the kind of paint that was utilized. Drinking water primarily based paints can be taken out with a h2o dependent solution, while oil paints will require mineral spirits.
Step 4: Flush it Out:
Now that the siphon tube is out of the paint, and in flushing fluid, you can use the sprayer gun to flush out the total method.
Turn the electricity back on, and activate the set off mechanism until you get started to see the flushing fluid arrive out of the spray gun. You will want to do this until the flushing liquid arrives out distinct.
After you have you have completed this, let the fluid to circulate for a number of minutes in the key valve as properly.
Following that, you are accomplished, and you can commence reassembling the sprayer!
Keep in brain that some spray systems function backyard garden hose valves. With this function, you can hook the sprayer right up to the yard hose and flush it out much more quickly.
Conclusion:
Unless of course the maker of your paint sprayer served you out with a routine maintenance-welcoming design and style, cleansing out your sprayer is usually going to truly feel a little little bit cumbersome. That is just the actuality of the circumstance.
But although cleansing may constantly truly feel like a chore, undertaking it is truly likely to aid you out in the prolonged run. Now that you have study this guide, you should not have any troubles giving your sprayer the cleanse that it warrants.
By subsequent this guidebook you will quickly locate that you have less clogs and a lot more efficiency than ever before.
You may well also be interested in: 10 Best Paint Sprayers – Evaluations & Leading Picks
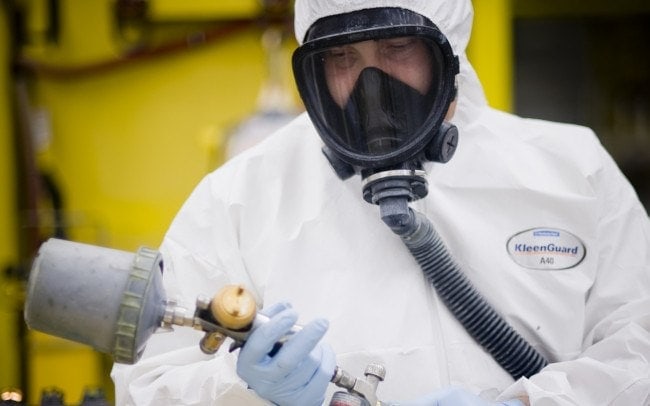
Showcased Image credit score: Abner Guzman, Crew Macchord
Contents