Nail pops are repairs that you’ll have to offer with eventually, specifically if the house is reasonably new. And the indicators are clear. 1 day everything seems to be typical, and the following working day, there is a protrusion of paint in your ceiling. When that transpires, you’ll have to search for somebody who dabbles in house repairs or repair them on your personal.
Now, we really do not know about you, but we desire working with our troubles on our personal. By that we imply, when those nails pop out, we search for an productive and effective way to pop them appropriate again in. Sadly although, it’s not as straightforward as we make it seem. Which is why we decided to draft this article piece for you men.
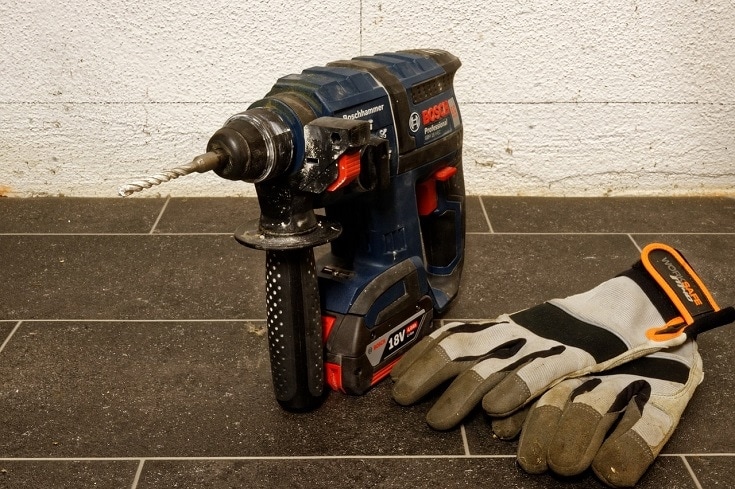
Tools Needed
Technically, this is the 1st step. We say that since creating sure you have all the proper instruments is essential. It guarantees the profitable completion of the undertaking, in addition to safety. And now that which is out of the way, let us start by listing down all the resources we need to have:
We currently know most of you most likely don’t have fifty percent of the objects on this listing, and you are going to be tempted to improvise. Our guidance to you is do not do it.
Do not use a makeshift tool, or 1 which is not in a initial-course situation. This sort of conclusions are the kind of selections that generate you a excursion to the clinic, with a missing thumb or toe. If you cannot discover the right instruments, just go away the function to the execs.
Fixing Nail Pops in the Ceiling
1. Remove the area that’s raised.
To obtain the nail, you’ll first have to scrape off the entire section of the ceiling which is protruding. How large of an spot you scrape off will depend on the severity of the scenario. If the nail head is already visible, you’ll undoubtedly be scraping a larger spot.
At some position you’ll think, “Why not just hammer the nail back in?”
And you’re proper. Hammering the nail again in will surely remedy your dilemma a great deal more quickly. Even so, following a couple of months, you’ll uncover by yourself dealing with that same difficulty.
So no, let us not take that simple route. It’s a total squander of time if you believe about it.
2. Drill screws around that area.
Identify the ceiling joist, and drill two screws in there. For the procedure to be efficient, you must make positive the screws are in close proximity to the popped nail. A single of the screws ought to go approximately an inch previously mentioned the nail, and the other a single an inch beneath.
Nail pops are just a cosmetic issue, but you can by no means be also certain about these issues. That is why we require the screws to securely connect the ceiling to its joists. The supreme goal is to guarantee no other motion pops out the nail.
In situation you have not figured it out nevertheless, the duration of the screws that you’re preparing to use will obviously play a important part right here. If they are not 1.twenty five inches lengthy, you’ll have to seize your automobile keys, and operate to the keep.
.seventy five inches have to go into the joist, and a few of inches still left on the surface area. Which is not going to be attainable if the screws are exactly .seventy five inches lengthy or shorter.

3. Hammer in the nail.
Really don't just hammer it in—bury it. Make confident that the silver head cannot be seen, even if an individual attempts to use a magnifying glass. Use the nail punch, if you have to. Just make positive almost everything goes in, in no way to be observed again.
Side note:
A nail punch is at times referred to as a nail established, and its sole operate is to make certain the nail’s head goes beneath the wood’s area. Utilizing it is straightforward. All you have to do is place its idea on the nail’s head and hit the reverse conclude using a hammer. But be cautious, or else you will inadvertently hit your hand.
4. Patch the scraped off area.
We really don't want to wander around the property with holes in the ceiling staring at us. So the up coming and last step is to patch all those regions that you scraped off, and to make sure it all appears smooth and even. Which is what the patching compound and the putty knife are for.
Apply the 1st coat and allow it to dry. Dependent on the product’s brand and high quality, that could consider as tiny as forty five minutes or far more than twelve hrs. If you went for the worst top quality, it could even be much more than 24 several hours.
After it is dry, implement a next coat, and wait for it to dry once again. Later on on, you’ll have to sand over the location just before applying paint.
Frequently Asked Questions
What usually causes nail pops in a ceiling?
If at all you are pondering whether or not your home has started displaying signs of structural or basis concerns, the solution is no. It’s not. Nail pops are fully typical, and they are often brought on by a fall in the dampness amount located in the lumber holding the ceiling together.
Lumber is normally saved in warehouses, and it’s for the duration of that time period that they get to soak up humidity from the environment. They’ll hold on to that moisture for very some time, ahead of drying up and shrinking back to their authentic kind. That shrinking method is what triggers the studs to start twisting. And as they do, the outcomes are felt by the nails found in near proximity.
Hence, the pop out.
Is humidity the only thing that causes nail pops?
No, it is not. Nail pops can be triggered by normal vibrations, which includes seem waves. Just feel about it this way any type of force which is powerful enough to make the studs in your ceiling shift, will be powerful adequate to result in nail pops. However, humidity has been identified to be the main lead to, viewing as it usually helps make wood naturally grow and deal.
Is fixing nail pops costly?
Correcting a beauty issue has in no way been as costly as repairing a broken equipment. It’s not even remotely shut, to be truthful. You can either do it on your very own, or reach out to a expert who’ll most very likely demand you considerably less than a hundred bucks. And since this type of mend doesn’t eat also a lot time, they’ll be out of your hair in an hour or significantly less — that’s based on the magnitude of the circumstance.
Should we repair nail pops immediately?
Nail pops are the sort of repairs that are not time delicate. However, it is constantly a good idea to perform on all repairs as before long as achievable because you can in no way be also positive whether or not or not they’ll snowball into one thing high priced. One thing that could value you hundreds of bucks to correct.
Is hiring a professional necessary when fixing nail pops?
No, it is not. In reality, this is one of individuals Do-it-yourself assignments that you could work on in your spare time and take pleasure in the procedure. You need to be mindful however, given that incidents can happen wherever. Also, if you do not believe in your self or your talents, you could usually employ a person. As we mentioned, their support costs won’t be large adequate to break your lender.
Conclusion
Just like that, we’ve appear to the end of today’s session. If you still have not put your tools absent, do that. Leaving them lying around could cause an incident, and we’re attempting to stay away from all that.
Ship us a information if you have any questions, or if you’d like to contribute in any way. In any other case, we’ll see you in the next put up.
Highlighted Graphic Credit rating: Ursula Page, Shutterstock
Contents