1 of the worst components about tile floors is obtaining cracks in them. Cracked tiles are irritating. They seem poor, and they can push some people nuts. The dilemma is tiles do not basically come out. Viewing a cracked tile in the center of a area may well make you feel that the tile is just likely to be stuck there forever. The very good news is, regardless of getting seemingly cemented to the flooring, broken tiles can be set with no making contact with a expert.
With a small elbow grease, around $one hundred, and a day to spare, you can swap out any damaged tile for a fresh one particular. Below is how to change a damaged floor tile in nine straightforward methods.
| Time | 1 day |
| Difficulty | Intermediate |
| Cost | >$125 |
Preparation
Prior to you embark on your task, take a notice of in which your broken tile is. It is critical to pay focus to close by features this sort of as carpet, other tiles, and transitions. You are also likely to want to see exactly where the harm to the tile is positioned and what variety of hurt it is. The most typical sort of tile harm is a crack, but you could also have scratches, gouges, and chips.
Soon after taking an account of the tile and the surrounding region, you will need to obtain your supplies.
You will need:
- Cold chisel
- Hammer
- Grout knife
- Trowel
- Fresh thinset mortar
- New grout
- Replacement tile
- Gloves
- Cloth
- Grout color
- Exact tile dimensions (to 1/16th of an inch)
- Nearby tiles
If almost everything goes in accordance to program, the occupation should get a couple of hours of genuine perform and then permit it sit overnight to dry and cure.
Also, make certain to double-check out the exact measurement of the tile you are attempting to exchange. This is critical. Tile measurements adjust all of the time. Do not assume that a equivalent-hunting tile has the identical measurements as the outdated tile. If you cannot find a alternative tile that fits the 1 you are about to dig up, you will not be in a position to apply an exact repair. If you are not able to discover a matching tile, it might be greatest to dwell with the cracked tile right up until an alternative strategy can be formulated.
The 9 Steps To Replace Broken Floor Tiles
1. Cut grout from around the tile.
The first stage to getting rid of a broken tile is to lower the old grout. Employing a grout knife or grout noticed, minimize through the outdated grout. Go close to the complete border of the offending tile and pull out all of the outdated grout and throw it absent. Make positive to get as much of the previous grout as you can prior to moving on to the up coming stage.
2. Break tile with a chisel.

This is 1 of the hardest measures of the entire procedure. The goal is to split the tile into a few of massive pieces that allow you to get underneath and pry the tile up. You do not want to shatter the tile. You also do not want to strike the tile in a way that could crack nearby tiles. Breaking surrounding tiles is the quantity a single error that can happen in the course of this job.
Just before breaking up the tile, put your gloves on. Broken tile and tile edges can be really sharp. Not sporting gloves or operating swiftly can end result in distressing cuts.
Very carefully set the idea of the chilly chisel into the crack. Widen it as considerably as possible by rotating the suggestion if you can. Then strike the chisel when, head-on, with the hammer, so the suggestion receives wedged into the crack. Do not proceed to strike. You want the idea to get to the subfloor below the tile so you can get leverage and pry the tile out.
3. Pry up the broken tile.
Once you get the leverage you require, pry up the tile parts. The fewer parts, the greater. Ideally, the strike will have produced just two or 3 chunks that need to have prying. Angle the chisel and place your bodyweight into it, so your motion is pushing the tile up from beneath it. The tile ought to appear free and then arrive free.
Discard the broken parts. Be mindful to avoid chopping yourself on any shards or edges.
4. Remove old thinset.
Once the tile is gone, you will see a rough underside. This is the outdated mortar. Before replacing the tile, you will need to take away the aged mortar as ideal as possible. Using the hammer and chisel, split up the outdated mortar. Once again, be incredibly cautious not to crack any surrounding tile.
5. Clean the area under the tile.
Following the outdated mortar is damaged up and removed, it is time to clean the ground beneath the old tile. Using your cloth and some drinking water, scrub the region. This will remove any dust, outdated adhesive, and dust that may well have been trapped below the tile. A cleanse surface area will enable the new adhesive and grout to bond as properly as achievable. Placing new mortar more than old mortar or grime will lower its ability to remedy effectively.
6. Apply new thinset/adhesive.
The most common sort of tile adhesive is thinset mortar, but there are options if you are far more common with a various item. Combine the thinset to the specs on the package deal using drinking water. A very good consistency is usually a minor looser than peanut butter.
Unfold the mortar in excess of the room with the trawl. Be sure to evenly coat the flooring and fill the room entirely. Do not lather the mortar on way too thick. You just want a slim layer to bind the tile to the floor. Also significantly mortar will lead to the tile to sit higher than the tiles close to it and can cause the mortar to ooze into the gaps between the tiles, which will hamper your new grout.
7. Set the new tile.
When the mortar is down, it is time to set the new tile. Get your substitution tile and carefully lay it into the area. Be certain that the tile matches, matches the route of the other tiles. If the tile is too big or does not suit correctly, do not attempt and jam it into area. Forcing a tile can split close by tiles.
When the tile seems to be good, and in the situation, you want it, carefully press down on it. Observe for any indications of the mortar coming up through the room about the tile. If there is mortar coming up, cleanse it up and clean the tile.
8. Grout the new tile.
Once the tile is in, enable it sit for a few hours. Subsequent, mix your fresh grout. If you are performing just 1 tile, you can push the grout into the gap with your finger. Go around the entire border with the new grout being confident to evenly coat all of the gaps. Sleek out with the trawl or your fingers till you are content.
9. Clean and let it dry.
And lastly, you want to clear up the spot. Cleanse the tile. Clean up any grout, mortar, or dust that might be close to the spot from the work. Then you want to let the tile dry and remedy. For the subsequent twelve to 24 hrs, permit the tile sit. Do not walk on it. Do not transfer anything in excess of it. The mortar and the grout need time to remedy and set so that it becomes long term.
After the tile dries, it will be as excellent as new.
What if I break more tiles?
As talked about, breaking close by tiles during the system of the restore is the most typical problem that property owners run into although undertaking this job. Tiles are very susceptible to cracking when their edges are uncovered. If you do crack encompassing tiles, you have two options. First, you can merely change the other damaged tiles at the very same time. But if you do not discover why or how you are breaking adjacent tiles even though replacing them, you run the threat of possessing a cascading tile cracking incident. The 2nd choice is to contact in a contractor to fix the area for you. There is no shame in tapping out if the occupation gets out of hand.
The excellent information is a lot of of these materials come in packs that make replacing numerous tiles inexpensive. Mortar, grout, and tile all appear in offers that will allow you mend more than one particular tile if you so pick. A tiny bag of mortar, grout, and a box of tile must simply get you 3 or much more tiles with no a difficulty.
Conclusion
Now you have the potential to find and swap out any cracked or broken tile in your home. No more agonizing over what to do about an unsightly split in a uniform tile flooring. This process can be repeated and accomplished for any damaged tile in your residence as extended as you can find a substitution that matches.
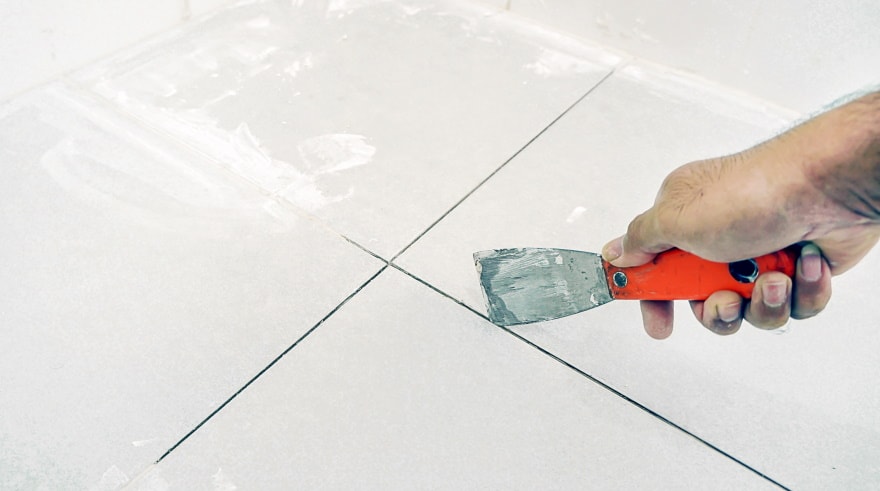
Featured Picture Credit history: Independence_Project, Shutterstock
Contents